Is your iPhone passcode more of a hassle than a help? Maybe Face ID is all you need, or you bought a used iPhone with a lock. Whatever the reason, we’ve got you covered. This is your ultimate, step-by-step guide to disabling your iPhone passcode—whether you remember it or not. Let’s dive in!
In this Article
ToggleHow to Disable Passcode on iPhone from Settings (The Easy Way)
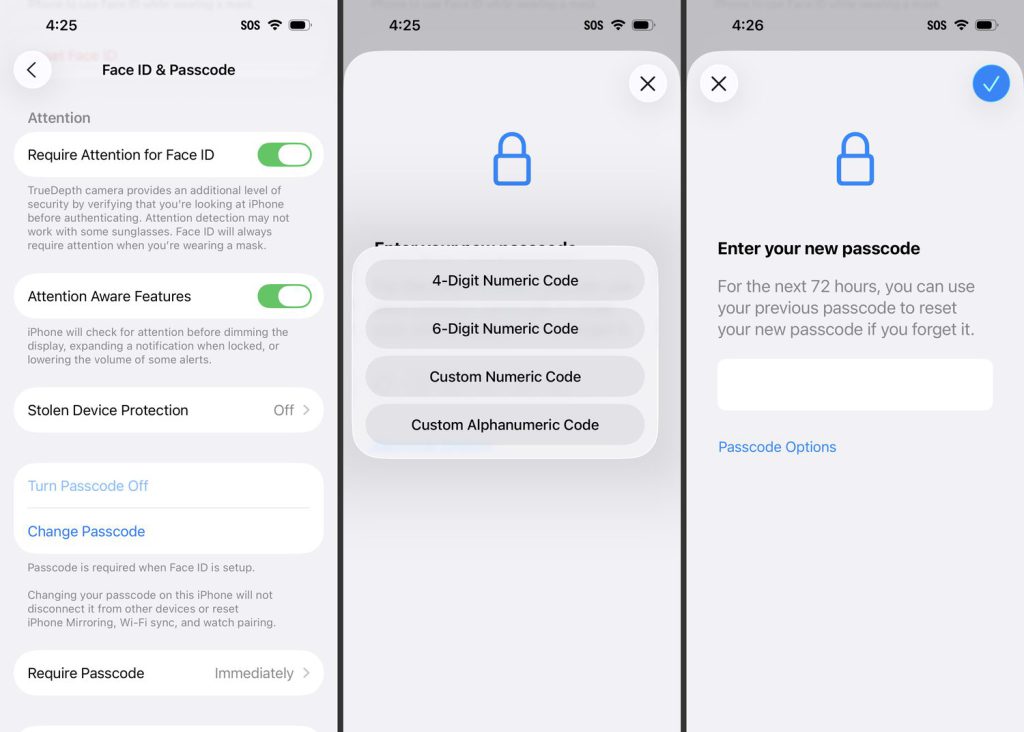
Open the Settings app on your iPhone.
Scroll down and tap on Face ID & Passcode (or Touch ID & Passcode on older models).
Enter your current passcode to grant access.
Scroll to the bottom and tap Turn Passcode Off.
Confirm your decision by entering your passcode one last time.
✅ Result: Your passcode, along with Face ID or Touch ID, will be immediately disabled. Your data remains safe and untouched.
3 Ways to Disable Passcode if You’ve Forgotten It
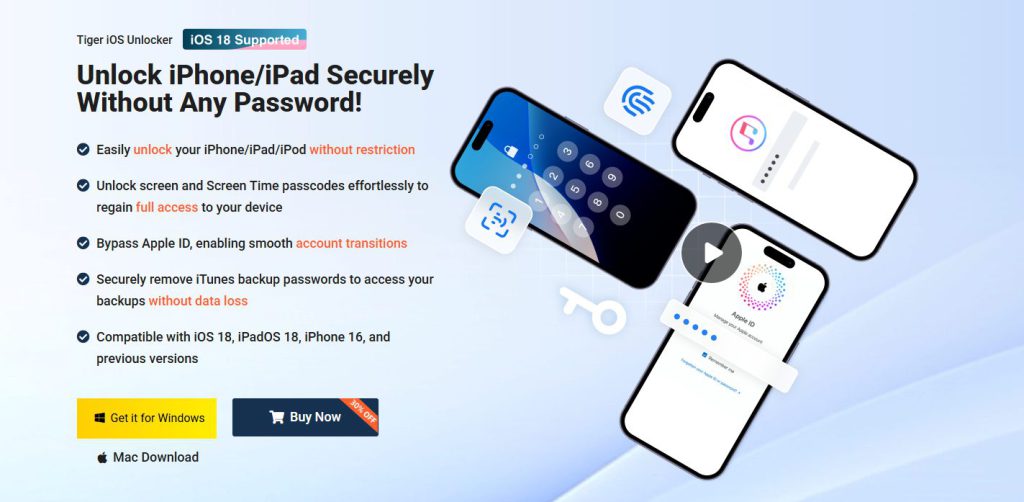
Way 1. Use a Professional Unlock Tool – The Most Reliable Solution
When you need to remove the passcode without losing your data, a professional tool is your best bet. We recommend Tiger iOS Unlocker(https://www.pocketechshare.com/tiger-ios-unlocker/).
One-Click Solution: Removes various screen locks (4-digit, 6-digit, Face ID, Touch ID) with a single click.
No Data Loss (in some scenarios): Offers modes to remove the passcode while preserving your data if certain conditions are met.
User-Friendly: A simple process that doesn’t require technical expertise.
How it works: Download the software to your computer, connect your iPhone, follow the on-screen instructions, and let it work its magic.
Way 2. Disable the Passcode via iCloud Find My (Requires Apple ID)
This method requires you to have Find My enabled on your locked iPhone and knowing your Apple ID password.
Go to icloud.com/find from any computer or another device.
Log in with the same Apple ID used on the locked iPhone.
Click All Devices at the top and select your locked iPhone.
Click Erase iPhone. This will remotely wipe the device, including the passcode.
After erasure, you can restore your data from a backup.
Way 3. Turn Off the Passcode Using Recovery Mode (The Nuclear Option)
This is Apple’s official method for restoring a locked iPhone. It will erase everything.
Connect your iPhone to a computer and open Finder (on Mac) or iTunes (on Windows).
Force restart your iPhone to enter Recovery Mode (the button sequence varies by model).
When you see the Restore or Update option on the computer, choose Restore.
The computer will download software for your iPhone and erase it, removing the passcode. You can then set it up as new or from a backup.
Helpful Tips to Create a Strong & Memorable Passcode
Once you’re back in, it’s time to set a secure passcode you won’t forget!
Use a Longer Alphanumeric Code: Instead of a simple 4-digit number, opt for a custom alphanumeric code with letters and numbers. It’s exponentially harder to guess.
Avoid Obvious Sequences: Stay away from “1234,” “0000,” or your birth year.
Consider a Memorable Word: Create a code from a word. For example, “C@tL0v3r!” is strong and easier to remember than a random string.
Update It Regularly: Make it a habit to change your passcode every 6-12 months.
Leverage Face ID/Touch ID: Use a complex passcode as a backup, and rely on biometrics for daily convenience.
Conclusion
Whether you’re streamlining your unlock process or recovering from a forgotten code, this guide has all the answers. For the safest and most data-conscious approach, a tool like Tiger iOS Unlocker is highly recommended. Remember to choose a strong, memorable passcode to keep your device secure